图片来源:Wandering Gio
回到调色。
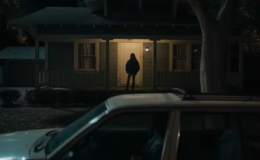
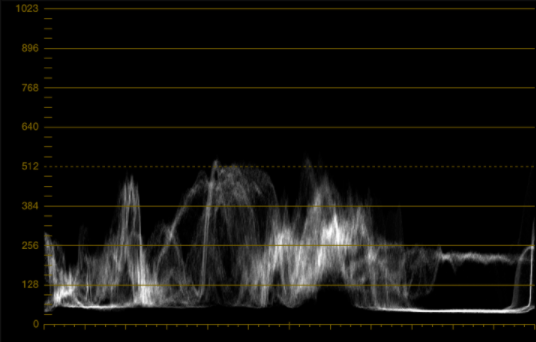
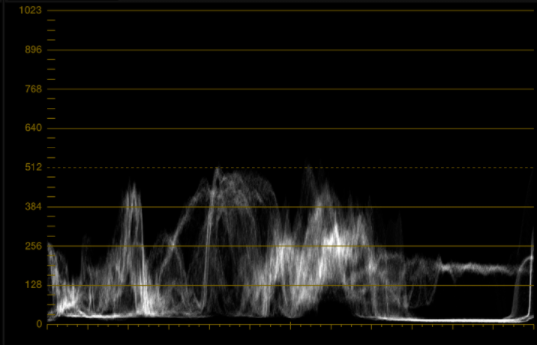
首先,调节控制阴影的Lift。把阴影提高一些,看看有哪些画面细节。
图片来源:Wandering Gio
图片来源:Wandering Gio
然后,把阴影中最暗的像素提高到0。如果我们把它的值推到低于零的位置,就会压黑细节。压黑是一个好用的创意调节,但在目前阶段使用它为之过早,还是在稍后的曲线调节阶段再考虑压黑的效果吧。
图片来源:Wandering Gio
图片来源:Wandering Gio
图片来源:Wandering Gio
图片来源:Wandering Gio
一般可以从大多数镜头中找到能用于参考的黑色,如果没有可供参考的,就靠自己判断。
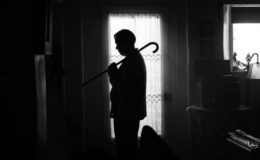
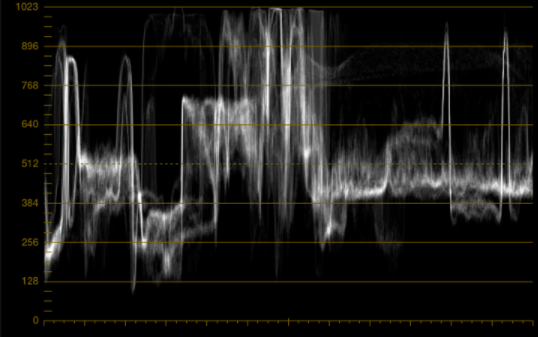
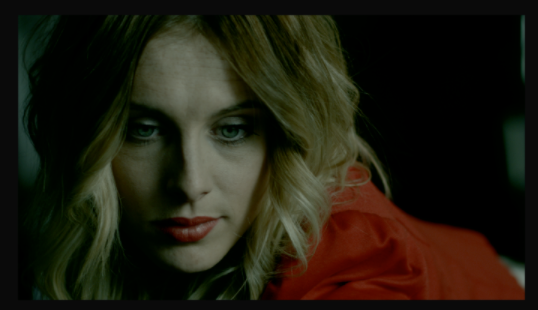
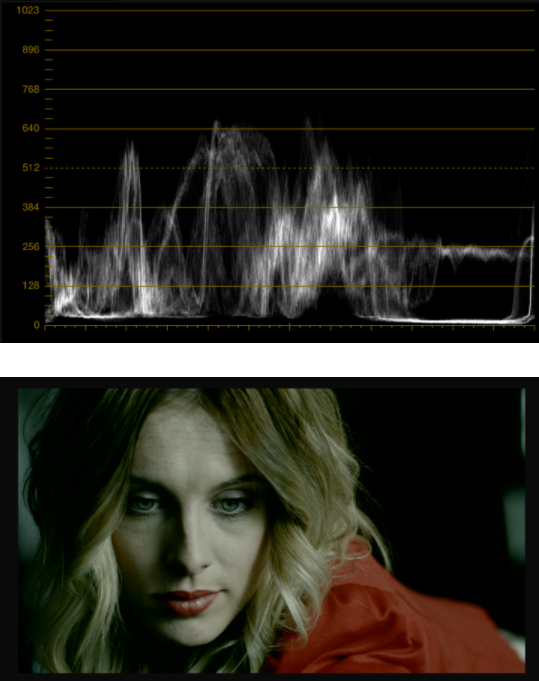
然后调节控制高光的Gain。同样地,我们把Gain调低,看看高光中的所有信息以及里面的画面细节。
镜头A中有一个非常明显的参考点——光源。灯泡被裁切了,它的值应该用最大白值来代替。否则如果它的值低于最大值,画面对应位置就会变成一团灰色的像素。
图片来源:Wandering Gio
图片来源:Wandering Gio
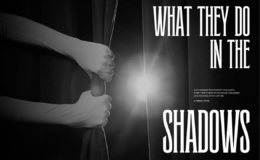
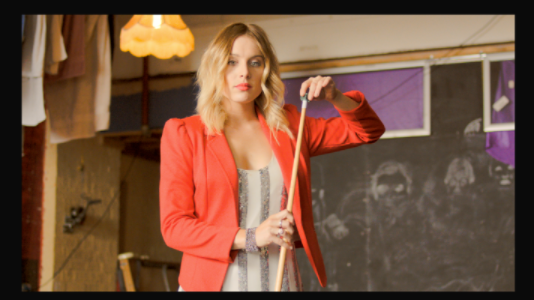
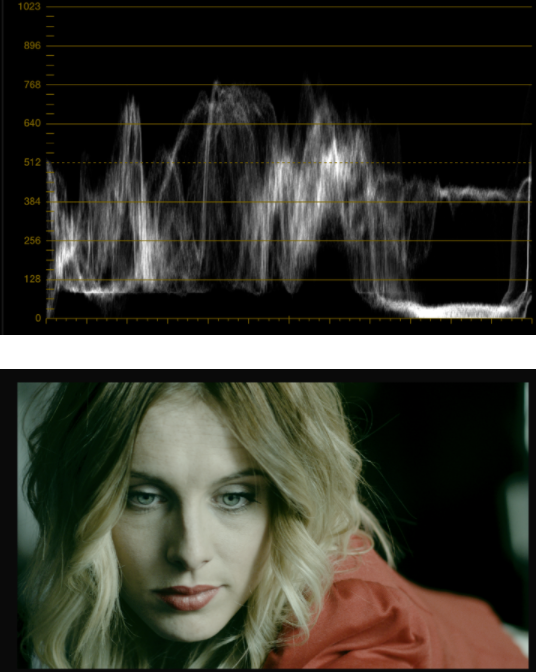
镜头B中没有需要被提升到100%的地方,我们通过对比其他镜头来分析画面,把Gain调整到合适的曝光水平。
图片来源:Wandering Gio
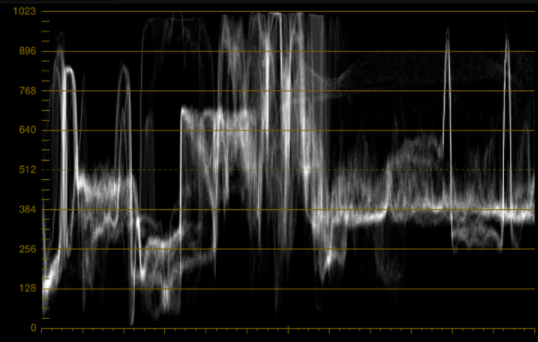
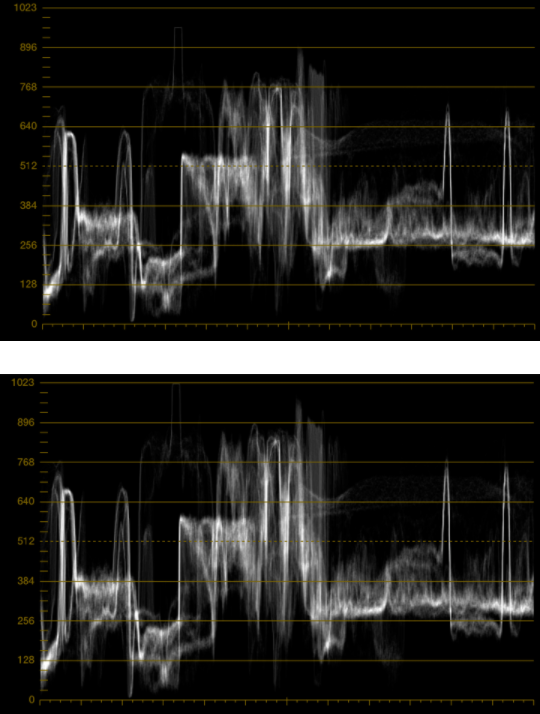
最后一步就是调整控制中间调的Gamma了。同样,靠你的判断能力按照需求调整镜头。看看阴影中是否损失了对比度?高光中是否损失了对比度?画面中的关键处是否处在同一个水平?

图片来源:Wandering Gio
图片来源:Wandering Gio
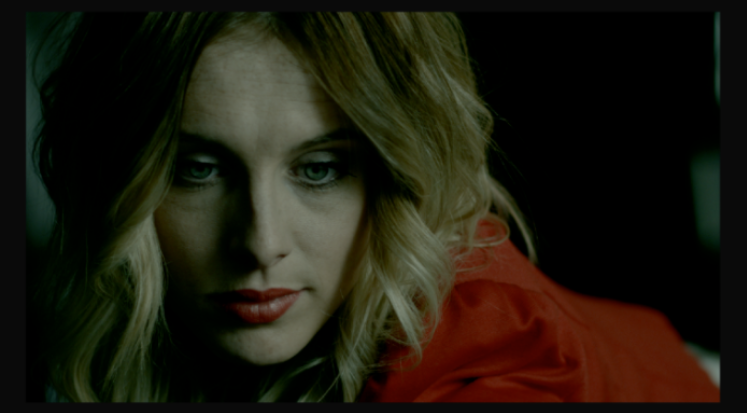
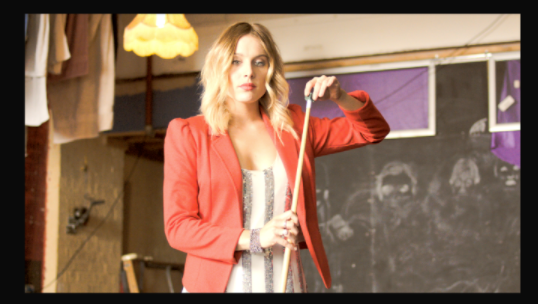
用波形示波器,可以看到各个值都分布在相似的区域。匹配时最重要的是看演员的脸和红色夹克。她T恤上的白色条纹只在镜头A中看得出来,这也是需要留意的地方。
目前我们还没有给镜头做风格化处理,只是简单地给一个场景中的镜头做匹配,以便后续在相同的基准上探索或复制风格。
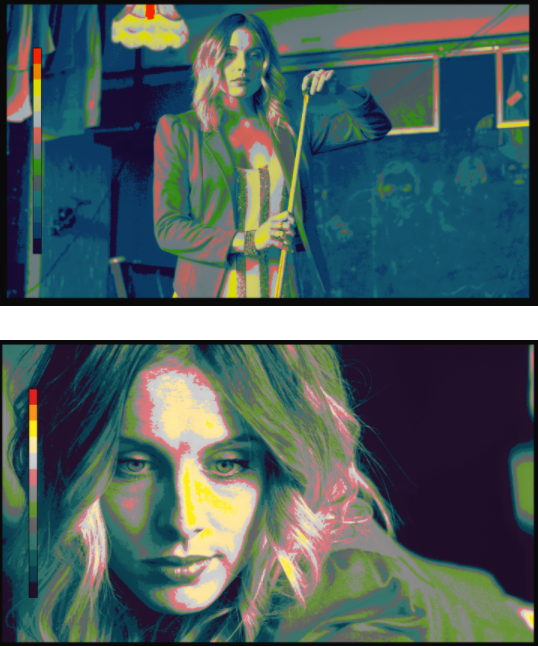
用亮度着色来检查一下画面。
图片来源:Wandering Gio
不错,进行下一步。(T)